Hey Loves!
Here’s the thing- I completely despise counting myself out. What I loathe more than that is other moms counting themselves out. You wouldn’t believe the amount of “I wish I could do that” or “I wish I was that talented” or “I could never do that” I hear and it is maddening.
I get it though. Seeing something put together in a square with good lighting and a photo preset can make anything look out of my depth. What I wish I knew a while ago is that perfection is not the standard, joy is. Joy from the giver and from the receiver.

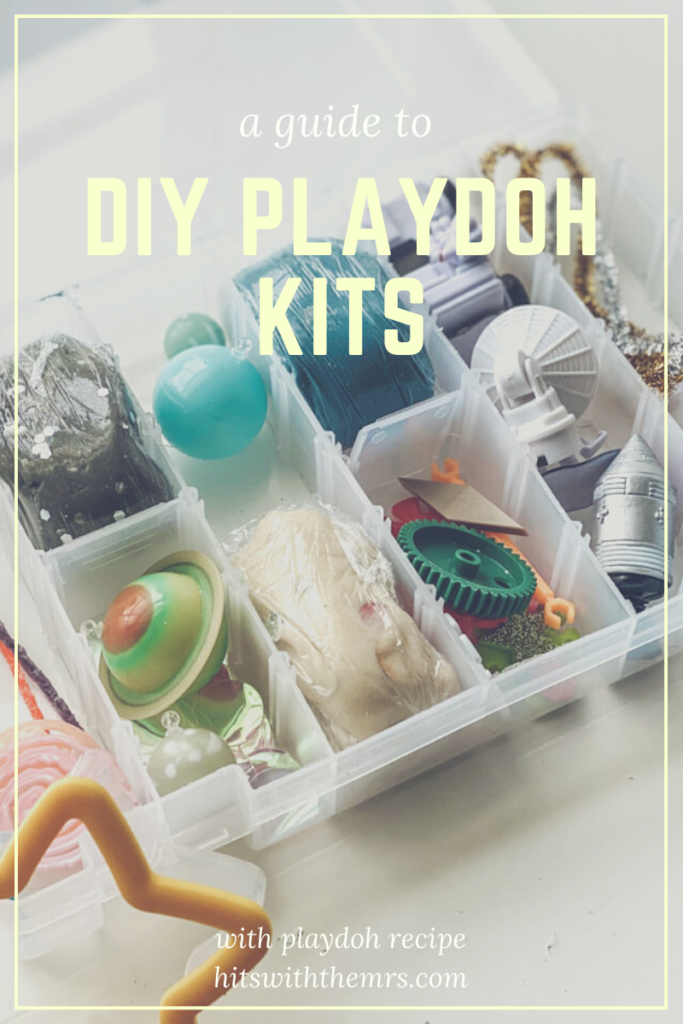
I thought I couldn’t make playdoh. It never, ever worked out. I tried, Failed, Tried. Failed disastrously. Thus, I could never make playdoh kits. So I got them as a gift for Jude’s third birthday. When I saw the basic items that cost maybe $3 to display prettily and organized while charging $30 a kit, I was in awe of their genius and then I went to work.
For starters, I found a recipe that worked. I read many blog posts and IG posts to see what was a common denominator and how to do this inexpensively. (for the recipe I use, keep reading.)
I also realized that I have just about everything I need for playdoh kits at home or they can be purchased very inexpensively, I am talking $1.00 or less. On top of that, they can be reused for other kits, crafts or activities.
Now for the execution…

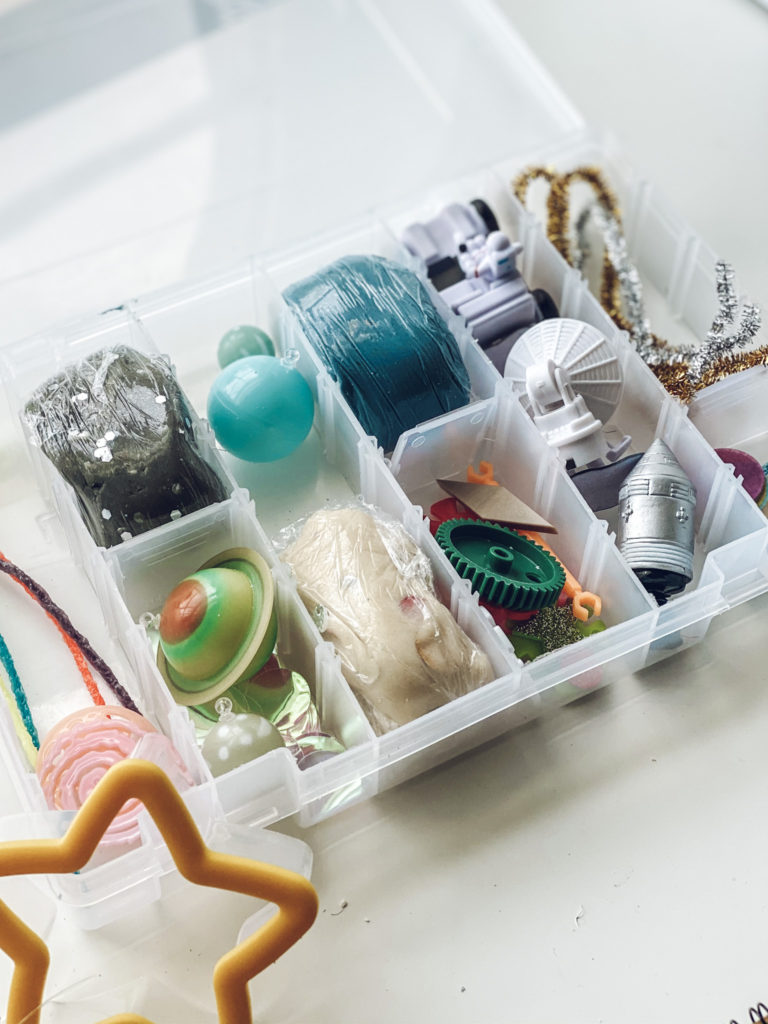
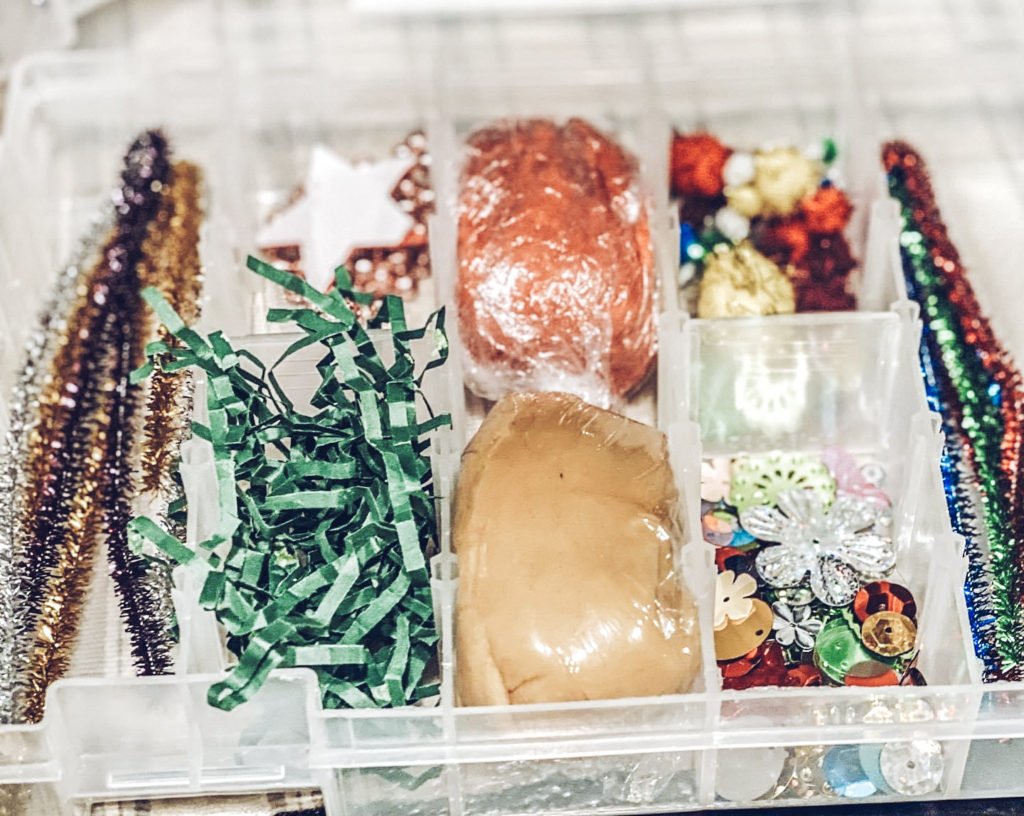
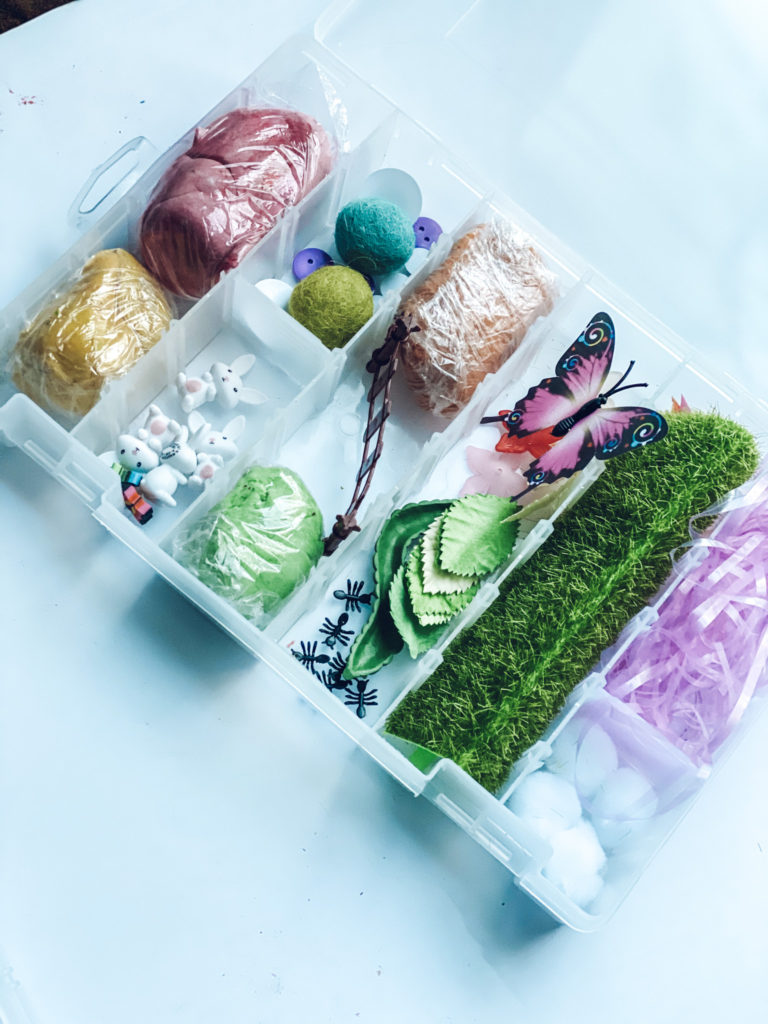
Theme: This is, to me at least, the easiest way to plan out what will be in your kit. While these playdoh kits do allow for open-ended play, a general theme is very helpful. Themes can be anything from seasonal, holiday, curriculum support or fun interests. The good news is, you can make these over and over again so you aren’t limited to one masterful theme. I’ve got tons of ideas saved on Pinterest.
Add-ons: So after you decided on your theme, select your add-ons. I am not sure if that is the technical term for the additional items that arent play-doh in the kit, but that is how they shall be referred to in this blog post. Ok, I say this gingerly but there is very little that is off limits. Toothpicks, straws, pipe cleaners, cookie cutters, small figurines, mini erasers and the list keep going and going. The good news is these items are very inexpensive and can be used for multiple things and, if stored properly, used again. Talk about bang for your buck!
The next thing I suggest purchasing is food coloring, gel and liquid. Don’t ask me but this raises the appeal of playdoh by like five thousand.

Now to the recipe. I am an enneagram 6w5 and I assure this recipe has been vetted, tested, tried, doubled and made with kids. Thus, I trust it implicity. I found this recipe via IG from @simplylearning and bless her entire soul.
½ cup of flour (I use stick the cheapest, most non organic here. My kids are past ingesting playdoh so this is not a concern for me.)
8 tsp of salt (see above, cheap!)
1 tsp of Cream of Tartar (This can not be omitted. Don’t substitute.)
½ cup of water
1.5 tsp of vegetable oil
You are going to mix these in a stainless pan that you have the stove on low-medium heat.(I keep the pan slightly “pre-heated”. I combine with a wooden spoon until you get a “dough consistency”
Scoop it out on a floured surface and knead. Yup. You don’t want the playdoh to stick to you. Add flour in very small increments until you’ve reached that consistency.
Then you add your food coloring. This magic is up to you. I typically use a combo of gel and liquid to achieve the desired colors.
Optional: I add essential oils. These provide calming and positively stimulating responses from my kids on top of smelling heavenly.

That’s it! Happy playdoh kit making friends! Be sure to tag me in your creations.
Love you! Mean it.
